We’re all learning about new technology right along with our kids, which can put us at a bit of a disadvantage. Darn those growing brains. And if you’ve ever gotten a new cell phone and seen how much more your kid knows about it than you do, well, you know exactly what I’m talking about!
That’s why giving a cell phone to your child for the first time — and knowing just what to do to set it up safely — is such a big deal.
With so many people giving kids new smartphones for the holidays, this is a good time to talk about how to make sure it’s kid-proofed (and no, I’m not just talking about a sturdy case), before you hand it over.
Fortunately, I’m here to help!
That’s also why we’re so thrilled to welcome our sponsor Netsanity, a service offering parents complete control over Samsung/Android and Apple iOS devices, all while helping teach kids about digital responsibility. And they’re such a trusted service, they even partner with the National Cyber Security Alliance and the Department of Homeland Security.
To be clear, it’s not a hack. It’s not “spyware.” Netsanity is a really smart service with a ton of features to lock down settings, help you manage kids’ screen time and more, all with pretty much just one click.
So on their behalf, I’ve put together this helpful list of 9 essential things you need to do to a smartphone — new or a hand-me-down — before you gift it to your kids. No special tech skills required.
Save 30% off any annual Netsanity plan for a limited time using code COOLMOMS30. Sweet!
More details on that below.
1. Get a case. A good one.

We won’t use our own iPhones without a case, so there’s no way we’d let our kids use their own smartphone without one either.
Fortunately, this is the easiest task of all! There’s no shortage of Android and iPhone case options for every single phone model, budget, and level of protection. And if you’ve got a tween or teen who cares about such things, there are plenty of highly protective cases, like the ones from Otterbox, that happen to be stylish, too. They’ve even got Star Wars cases. Win!
And I strongly recommend you add a screen protector, because you can never be too safe when it comes to protecting the device.
2. Check location settings
We’ve long been wary about activating location services on smartphones because they make it so easy for kids to broadcast their locations, if only inadvertently. Their photos will also be automatically tagged with location information, plus social networking sites may automatically pull that data from your child’s phone.
Turning off location services is quite simple — but it does mean you won’t be able to use most tracking apps to keep tabs on your kids. It also deactivates the “Find My Phone” feature on iOS.
The better option may be to turn it off on an app-by-app basis.
I even recommend you do this with your child, so they can understand you’re there to support them on this journey, and not leave them to their own devices. (Ha, see what I did there?)
3. Set restrictions and parental controls
The iPhone has some decent built-in parent controls that parents can use to manage certain features of the phone.
To activate them, simply go to Settings > General > Restrictions, and you’ll have the option to do everything from set age limits for iTunes and YouTube, block in-app purchases, and prevent access to certain apps, including Safari. Just know the restrictions are by no means comprehensive.
Android users have similar features, though you may have to create a user profile for your child to specify access and restrictions. It’s admittedly a little challenging.

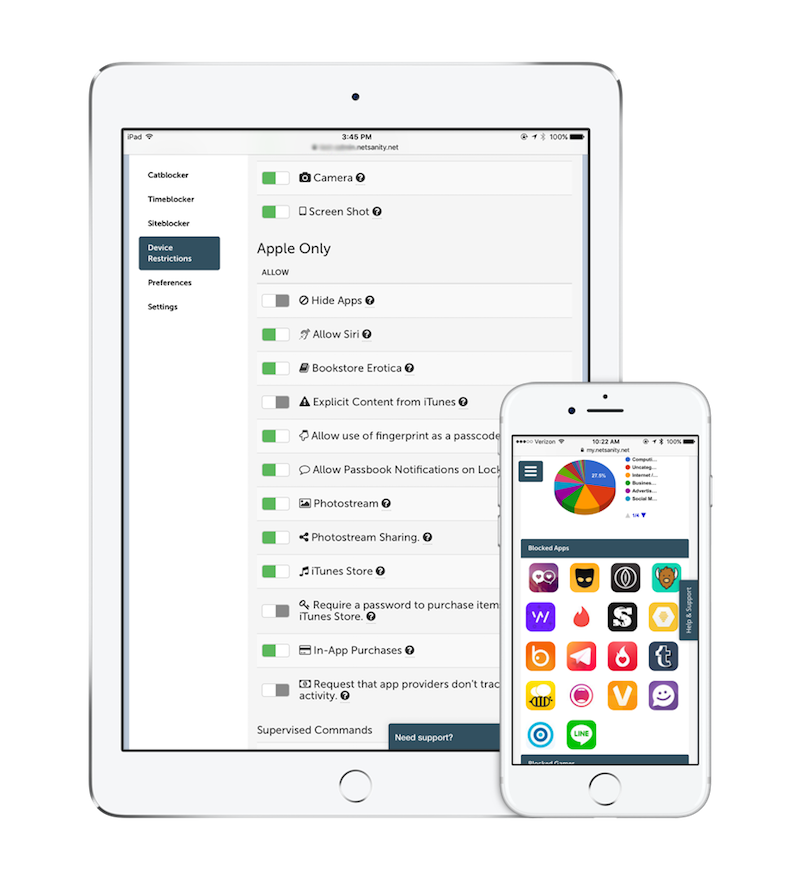
For really comprehensive parental controls that also help teach kids responsibility, our sponsor Netsanity is the trusted services that gives parents complete control of iOS and Android devices.
Premium subscriptions give you access to their GameBlocker and AppBlocker, which can automatically block over 50 of the most popular apps — that are the least beloved by parents (which we can attest to!) — all with one click. You can choose which apps you want to block (and which you don’t) from the list.
Parents also love the Timeout function which disables Internet connectivity for a set amount of time, and the Catblocker is a category-based blocker which limits access to 30+ categories including hate speech, graphic nudity, and even ads.
It’s definitely worth getting the 14-day free trial (no credit card required!), especially because you can upgrade and save 30% off any annual Netsanity plan using code COOLMOMS30 for a limited time.
We think you’ll love it.
4. Create a Family Sharing account
We’re big fans of Family Sharing for iOS devices, because it allows you to share apps you’ve already purchased between gadgets , no extra charge. Once you get it set up, you can easily upload apps to their new device. And even better, you can adjust the settings so that kids have to request to download any content at all, including apps, songs and movies. Even free ones.
Just make sure you’ve hidden the apps on Family Sharing that might be on your own gadgets that you don’t want them to access at all.
While you’re add it, this is a great time to add a few new apps that you think the kids might use — maybe a favorite educational app? And add them to the subscriptions you already have like Apple Music or Spotify Family.
It’s good to remember that phones aren’t all about games and social media; they’re digital helpers for our kids same as they are for us. So think outside the gaming box with calendar apps, homework reminder apps, to-do list apps, e-readers, you name it.
5. Set up contacts
This is an especially important step if you are passing your own phone down, because there’s a good chance your own contacts will still be on the phone.
The last thing you want is your kid texting a silly selfie to that one colleague who doesn’t have a good sense of humor. (Do I sound like I speak from experience?)
Implementing Family Sharing or for Samsung phone owners, creating separate Android user accounts, will certainly help to circumvent any major snafus; but before you wrap up your old phone for the holidays, make sure your old contacts are cleared off and the new ones are put on.
6. Manage passcodes and add your fingerprint
If you’ve ever tried recovering a lock screen passcode, let’s just say…you do not want to have to do that. So, be sure you know your child’s passcode and give them instructions not to change it without permission.
(Kids are always changing their passcodes for some reason!)
If your child has a phone with a fingerprint sensor, I definitely suggest adding yours as a second user, so you can always access your kid’s phone for any reason. That’s a hard and fast rule in our home, by the way; and lends itself to good discussions about your role in helping keep your kids safe.
7. Create a docking station

In my home, we use a docking station to help ensure that gadgets stay charged, and away from tired eyes and idle hands at night before bed.
One possibility is this highly-rated docking station from Satechi. Then choose whether you want it in a central area like the kitchen or living room, or you want to keep tabs on it in your own bedroom or on a high shelf.
Of course, you may want to double down on those no-phone restricted hours in your home. And another cool thing about Netsanity, is that it lets you control nighttime usage. This way, older kids can charge devices in their own rooms (they often use their phone alarms to wake them up for school in the morning) but still get the sleep they need.
8. Block off time for a one-on-one tutorial
Whether it’s your child’s first phone, or they’re getting a lucky upgrade to a new model, I highly recommend taking some time to sit down with them and go through their phone’s functionality.
Whether you’re teaching them how to set up reminders in their calendar app, how to turn off notifications on Instagram so their phone doesn’t buzz incessantly, or how to use the iPhone 911 emergency feature, kids really need instructions from an adult, not their friends.
It’s a way to give them a well-informed start, and to reinforce the idea that you are a trusted resource and guide for all things digital.
I also suggest talking about phone etiquette, which is something kids don’t know in this text-heavy age. Teach them about caller ID, blocking numbers, calling people back if they receive a voicemail, and how to answer calls with a friendly “hello” and not a “yeah?”
It’s also the time to talk about etiquette like when to use headphones or earbuds in a public place, and of course talk about discussion about safety and privacy when it comes to texting — particularly in groups.
I also make it really clear to my kids that anything that they write or send can be screenshot and shared without their knowledge.
And don’t forget to talk about basics like how how to clean their phones (and keep it away from water!) — you may be surprised how much kids need to learn from you.
9. Sign a cell phone contract
Many families choose to create a cell phone contract with their kids, which can include everything from what happens if the phone breaks, to the consequences for bad decisions.
Think through questions like, who pays if the phone gets dropped in the toilet? Can a phone be taken away for punishment? Does a parent have the right to read texts and emails? Are there certain hours the phone is restricted?
Whether you decide on a firm written and signed agreement, or just have a loose discussion over dinner with a verbal handshake, I think it’s really important to specify your expectations and make sure all parties agree — before the first app is opened or the first text is sent!
Special offer for Cool Mom Tech readers:
Save 30% off any annual Netsanity plan for a limited time using code COOLMOMS30.
Just upgrade from your free 14-day trial to a pre-paid plan. Offer ends 2/28/18
Thanks so much to our sponsor Netsanity for making it a whole lot easier for parents to keep our kids safer while helping them to become more responsible and digitally savvy!
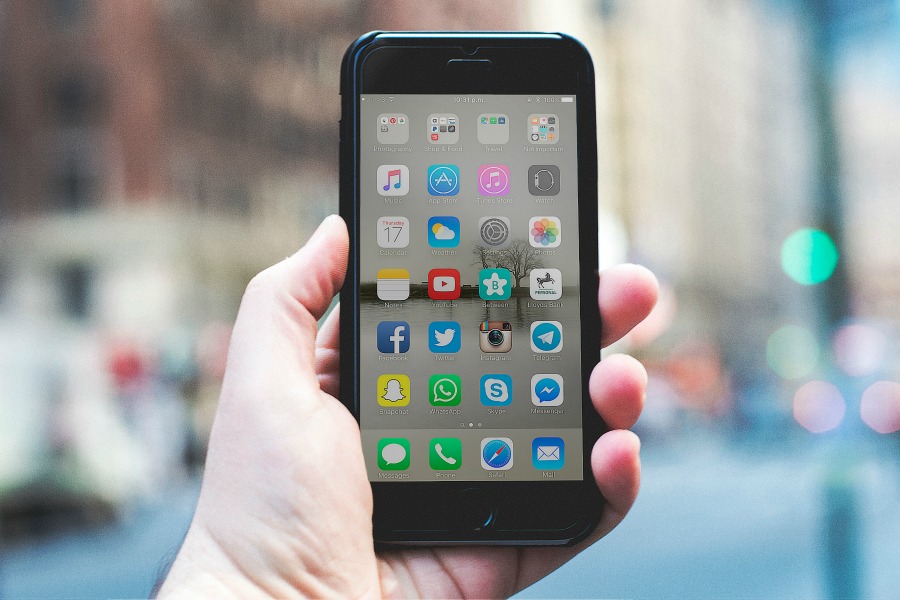
Top photo: Saulo Mohana via Unsplash